How to Easily Turn On Your Red Dot Sight
Many shooters find it tricky to turn on their red dot sight quickly and smoothly, especially in the heat of the moment. If you’ve ever fumbled with buttons or struggled to get your sight to activate, you’re not alone.
Luckily, turning on your red dot sight is straightforward once you know the basics.
To easily turn on your red dot sight, locate the power button—usually on the top, side, or rear and marked with a power symbol. Firmly press the button until the sight activates, confirming with an LED indicator.
Make sure the battery is correctly installed and check for any dirt or debris that might block the switch. Adjust brightness for ideal visibility, and if issues persist, more tips are ahead to help troubleshoot and maintain your sight.
Key Takeaways
- Find the power button on your sight, usually on the top, side, or rear, marked with a power symbol.
- Press and hold the button firmly until the red dot lights up. Make sure your sight is securely mounted before turning it on.
- Look for indicator lights or LED signals to confirm it’s powered on.
- Adjust the brightness so the red dot is clear and visible, depending on the light conditions around you.
- Regularly check and clean the power button and battery compartment to keep everything working smoothly.
How Red Dot Sights Power On: An Overview
Many red dot sights turn on with just a press of a button or switch. Understanding how they power on starts with a bit of red dot history. Originally, sight technology relied on complex, mechanical systems, but now modern designs use electronic illumination.
Today’s red dot sights have small batteries that power an LED reticle, making target acquisition quick and easy. When you activate the sight, you usually press a switch or button, which completes the circuit and energizes the LED.
Some models even have automatic power-on features that activate when they detect movement or when mounted on a firearm. The sight’s circuitry then adjusts the brightness of the reticle, ensuring good visibility in different lighting conditions.
Knowing how your red dot sight powers on helps you operate it smoothly and be ready when it counts. Whether it’s a manual switch or an automatic feature, the goal is fast, reliable activation for accurate aiming.
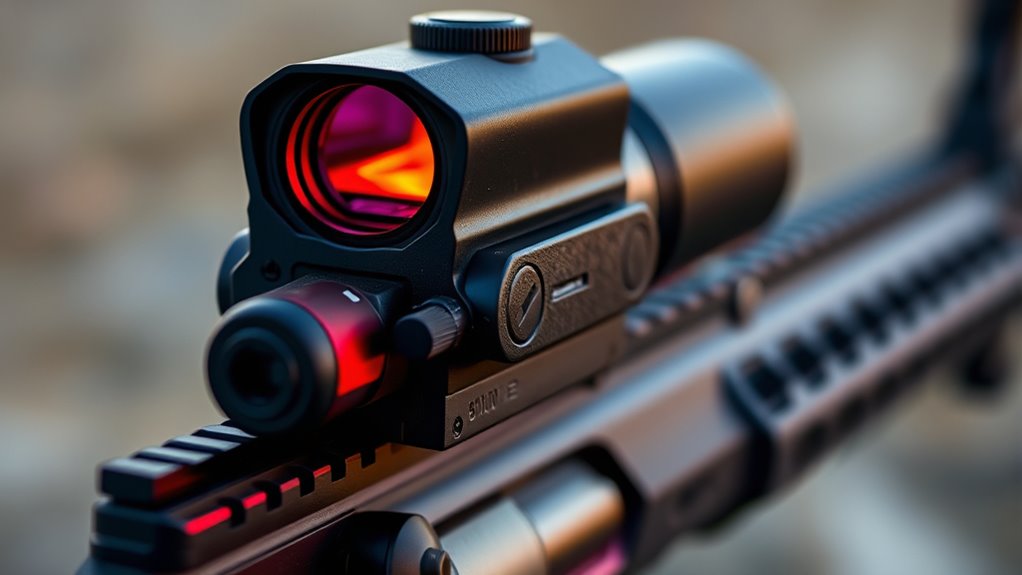
How to Identify Your Red Dot Sight’s Power Button
To identify the power button on your red dot sight, start by inspecting the entire housing carefully. The button location varies depending on sight models, but it’s usually on the top, side, or near the rear for easy access.
Many sights have a small, textured button or switch that’s clearly marked with power symbols or labels like “ON” or “Power.” Some models use a push button, while others have a toggle switch.
Check for any raised or recessed areas that stand out from the housing surface. If you’re unsure, refer to the user manual or manufacturer’s diagram, as the location can differ between brands.
How to Turn On Your Red Dot Sight the Right Way
Turning on your red dot sight the right way helps it work properly and saves battery life. Here’s what to do:
First, make sure your sight is mounted securely using the right techniques. A stable mount keeps everything aligned and prevents movement.
Next, turn on the sight by pressing the power button, usually found on the side or top. Press firmly until it activates.
Before making any adjustments, check that the sight lines up with your firearm’s bore. Proper alignment is key for accurate shots.
Once it’s on, adjust the brightness and zero the sight based on your preferences and shooting conditions.
Troubleshooting Power Issues on Your Red Dot Sight
If your red dot sight isn’t turning on, first make sure the battery is the right type and is installed correctly. Sometimes, it’s the little things like a loose battery or a dead one that cause the problem.
Next, take a look at the power switches to see if they’re working properly. Sometimes switches can get stuck or stop making good contact, which keeps the sight from powering up.
Finally, if everything seems fine on the outside, check the internal connections. Look for any loose wires or signs of corrosion that could be messing with the power flow.
Check Battery Compatibility
Ensuring your red dot sight has the correct battery type is essential for proper functioning. Using incompatible batteries can cause power issues or shorten their lifespan. To avoid this, check your sight’s manual for the recommended batteries.
Here are key steps to verify compatibility:
- Confirm the exact battery model specified by the manufacturer.
- Avoid generic or unbranded batteries that may not meet the required specifications.
- Consider the battery type, such as CR2032 or AA, depending on your sight.
- Replace old batteries promptly to maintain optimal lifespan and consistent performance.
Inspect Power Switches
Start your troubleshooting by inspecting the power switch on your red dot sight to make sure it’s working properly. Power switch types vary, like push-button, sliding, or toggle switches.
Check the usual switch locations, often on the side or top of the sight. Make sure they’re fully engaged or turned on. Dirt or debris can sometimes block proper contact, so clean the switch area gently if needed.
Ensure the switch moves smoothly and clicks into the “on” position. If it feels loose or stuck, it might be faulty or damaged. Toggling the switch a few times can help you see if it’s the source of the problem.
A properly functioning switch is key to turning your red dot sight on reliably.
Examine Internal Connections
Since internal connections can sometimes loosen or become corroded over time, it’s important to carefully examine the wiring and contact points inside your red dot sight. Loose or damaged internal wiring can cause power issues or inconsistent operation.
To keep your sight working smoothly, check all wiring for any visible damage or corrosion. Make sure contact points are clean and securely connected. If you find any loose connectors or wires, gently reseat them.
Also, inspect the internal wiring for broken or frayed spots that might need replacing. Fixing these small issues can make a big difference in maintaining reliable performance.
How to Adjust Brightness Settings for Visibility
Adjusting the brightness of your red dot sight is key for clear visibility in different lighting conditions. You want the brightness to match your environment so the dot is sharp without being too glaring or faint.
In bright daylight, turn up the brightness to cut through glare and make sure you can see the reticle easily. When you’re in low light or indoors, lower the brightness to prevent the dot from being too bright or distracting.
Most sights have a simple button or dial to adjust brightness. Just press or turn it until the reticle looks sharp and visible. Some models even have automatic brightness adjustments, but manual control lets you fine-tune it for your surroundings.
Remember to tweak the brightness as lighting changes to keep your view clear. This helps you acquire targets quickly and shoot accurately. Proper brightness adjustment really improves your overall shooting experience.
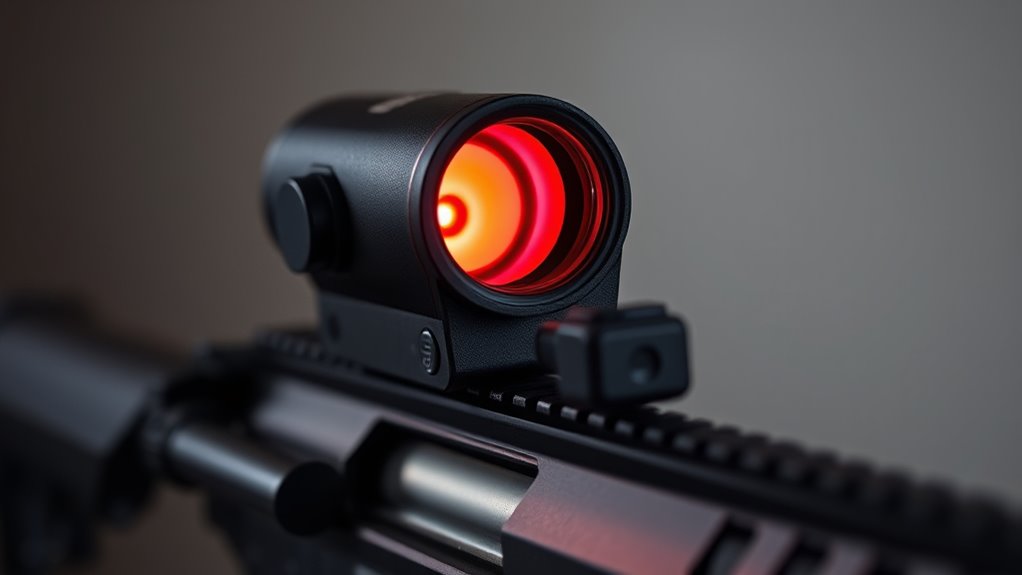
How to Confirm Your Red Dot Sight Is Powered On
Once you’ve set the brightness to match your environment, the next step is to make sure your red dot sight is powered on and working properly. To do this, check a few key things:
First, look for a visible power indicator, like a LED light or an illuminated reticle. If you see it, that’s a good sign it’s on.
Next, make sure the reticle looks sharp and steady. If it’s clear and not flickering, your sight is calibrated correctly and functioning.
You should also verify the battery life isn’t low. Check any battery status indicators or think about recent usage that might drain the power.
Finally, test the reticle’s responsiveness by adjusting the brightness again. If it changes smoothly, your sight is definitely active.
If you notice the reticle is dim or not visible at all, the sight might not be powered on or the battery could be dead. Regularly checking the battery life helps keep your sight reliable.
And proper calibration is key for accuracy, so make sure that’s in good shape too. Checking these points ensures your red dot sight is ready for action.
Managing Power Saving Modes on Your Red Dot Sight
Managing power saving modes on your red dot sight is key to keeping it ready when you need it. Many sights have automatic or manual features that turn off the display after periods of inactivity to save battery life.
Familiarize yourself with your sight’s settings so you can adjust or turn off the power saving mode if needed. Some models let you set the delay before it powers down, which helps balance conserving energy and being quick to use.
Regularly check your battery level to avoid surprises during critical moments. When you’re not using the sight, turn it off or activate power saving to extend the battery life.
Properly managing these modes keeps your red dot sight reliable and ready for action. Understanding and controlling the settings helps you perform at your best and makes your batteries last longer.
Tips for Maintaining Your Power Button
Want to keep your red dot sight’s power button working smoothly? Just make sure to keep it clean and free of dirt or debris—that way, it won’t get sticky or tricky to press. It’s also a good idea to check the battery connection regularly, making sure it’s secure and doesn’t have any corrosion. Taking care of these little things can make a big difference, helping you stay confident that your sight will perform reliably whenever you need it most.
Keep Button Clean
A dirty or sticky power button can stop your red dot sight from turning on reliably. Regular button maintenance is key to keeping it working smoothly.
To keep it in good shape, gently clean around the button with a soft cloth to remove dirt and debris. You can also use a small brush or compressed air to clear out dust in the crevices.
Avoid harsh chemicals that could damage the button or its contacts. If you notice sticky residue, wipe it away with a damp cloth and dry thoroughly.
Check Battery Connection
Making sure the battery connection is secure is key for your red dot sight to turn on reliably. Loose or corroded connections can stop power from reaching the sight.
First, check the battery type—common options include CR2032 or AA batteries—and confirm you’re using the right one. Then, look at the power indicators; if your sight has LED lights, they’ll show if power is on.
Remove the battery and reconnect it firmly, ensuring it’s seated correctly. Use the table below to troubleshoot common issues:
| Issue | Solution |
|---|---|
| Power indicator not lit | Replace battery with correct battery type |
| Battery loose | Re-seat or tighten the battery |
| Corrosion present | Clean contacts before reinserting |
| Battery dead | Replace with fresh battery |
| Wrong battery type | Use manufacturer-recommended battery |
Regular checks help keep your sight working perfectly.
Common Mistakes to Avoid When Turning On Your Red Dot Sight
When turning on your red dot sight, a common mistake is forgetting to check the battery or power source beforehand. This can cause the sight not to turn on or lead to activation issues.
Also, paying attention to where the power button is can save you from frustration or accidental activation. To avoid these problems, keep these tips in mind:
- Make sure the battery is properly installed and has enough charge before turning on.
- Confirm you’re pressing the correct part of the power button, especially if it’s small or recessed.
- Be gentle but firm when pressing the button—pressing too lightly or too hard can cause errors.
- Get familiar with the location of the power button so you’re not fumbling when you need it quickly.
Avoid rushing or guessing where the power button is, because these mistakes can slow you down and affect safety. Properly checking your power source and knowing the button’s location will make activation smoother and more reliable.
When to Seek Professional Help for Power Problems
Recognizing the signs that indicate you need professional help can save you time and prevent further damage to your red dot sight. If you experience persistent power issues despite replacing batteries or adjusting switches, it’s time to seek professional assistance.
Frequent flickering, dim illumination, or complete power loss that doesn’t respond to basic troubleshooting suggest a deeper internal problem. If your sight doesn’t turn on even with fresh batteries or shows inconsistent performance, don’t try to force it into working.
Handling complex electrical issues without proper knowledge can cause more harm. When basic checks don’t restore functionality, it’s best to consult a technician or the manufacturer’s support team. They can diagnose and repair internal faults safely and effectively.
Knowing when to get professional help guarantees your red dot sight operates reliably and helps prevent costly damage from attempts at DIY fixes.
Frequently Asked Questions
Can I Turn on My Red Dot Sight Without Pressing the Power Button?
Yes, you can turn on your red dot sight without pressing the power button if it has automatic features like motion activation or shake wake.
Some sights with advanced battery types and motion sensors automatically power on when they detect movement, which helps save battery life.
Check your sight’s features—if it supports these, you won’t need to manually press the button.
Always review your user manual to understand your specific sight’s capabilities.
Does Environmental Temperature Affect Red Dot Sight Power Activation?
Environmental temperature can impact your red dot sight’s power activation, as temperature influences sight sensitivity. In very cold conditions, the battery might struggle to provide consistent power, making activation harder or slower.
On the other hand, high temperatures could cause the sight to malfunction or turn on unexpectedly. To keep your sight working reliably, store it within its recommended temperature range and watch out for temperature changes that could affect activation.
How Long Does the Battery Last When the Sight Is Turned On?
You might worry about how often you’ll need to replace the battery, but most red dot sights last between 1,000 and 50,000 hours on a single charge thanks to good power efficiency.
When turned on, the battery lifespan depends on the model and how you use it. Activating sleep modes can help extend its life even more.
To get the most out of your sight’s battery, turn it off when you’re not using it and pick energy-efficient models whenever possible.
Are There Alternative Methods to Turn on the Sight Quickly?
You can quickly turn on your red dot sight by pressing the power button manually. Many models also have automatic activation, which turns the sight on when it detects motion or is handled.
These automatic features save time and hassle, making sure you’re ready to shoot fast. If manual activation feels slow, check if your sight has a sleep mode or proximity sensors for faster, hands-free power-on options.
Can I Leave My Red Dot Sight Turned on for Extended Periods Safely?
You can leave your red dot sight on for extended periods, but it’s a good idea to think about battery life and how well the sight holds up over time.
To avoid wasting battery, use auto-off features if your sight has them, or just turn it off when you’re not using it. This helps save power and extends the life of your batteries.
Make sure to check the sight regularly to see how it’s holding up, especially if you’re in tough environments. Keeping it in good shape means it stays functional longer.
Conclusion
Now that you know how to power on your red dot sight with confidence, imagine the moment of clarity when you line up your target perfectly.
But beware—sometimes, a simple click isn’t enough, and hidden issues can surprise you.
Will you be ready to troubleshoot and keep your sight ready for action or face unexpected delays?
Stay vigilant, and your aim will always be sharp, no matter what challenges come your way.