7 Simple Steps to Sight Your Scope at 25 Yards
Many shooters know the frustration of trying to get their scope dialed in at 25 yards. It can feel tricky, especially if you’re new to shooting or haven’t done it in a while. But don’t worry—you’re not alone, and with a little patience, you’ll be hitting your target with precision.
To sight your scope at 25 yards, start by setting up a safe, stable range with your rifle, scope, and target firmly secured. Double-check that your scope is mounted correctly and aligned with the bore.
Use a rest to steady your aim and fire test shots, then make small adjustments to windage and elevation until your shots hit the center. Remember to verify and re-zero if needed; follow these simple steps, and you’ll uncover detailed tips to refine your accuracy even further.
Key Takeaways
- Make sure the range is safe, stable, and the target is securely placed exactly 25 yards away.
- Take some test shots to see where your bullets are hitting and adjust your windage and elevation accordingly.
- Check that your scope is properly mounted and that the reticle lines up with the bore for a solid zero.
- Use a steady rest like a bipod or sandbag to keep your shooting posture consistent and reduce any movement.
- Re-zero the scope if needed, starting fresh for the most reliable accuracy and consistent hits.
Preparing Your Range and Equipment for Zeroing at 25 Yards
Before you start zeroing your scope at 25 yards, make sure your shooting area is safe, stable, and free of distractions.
Start with a checklist to ensure you have everything you need: rifle, scope, target, stands, and ammunition.
Begin with a checklist: rifle, scope, target, stands, and ammunition for a smooth zeroing process.
A proper range setup is key for accuracy. Set your target exactly at 25 yards and secure it firmly.
Make sure your shooting surface is stable and level to prevent any movement during shots.
Clear the area of clutter or distractions so you can stay focused on your shooting.
Check your firearm to ensure it’s functioning properly, and confirm your scope is mounted securely.
If you’re using a rest or bipod, verify they’re stable and adjusted correctly.
Preparing your equipment and range like this creates a controlled environment, making zeroing easier and more accurate.
Following these steps helps minimize errors and gives you a solid foundation for precise zeroing at 25 yards.
Why Zeroing Your Scope at 25 Yards Matters for Accuracy
Zeroing your scope at 25 yards creates a solid foundation for accurate shooting. When your scope is properly aligned, your point of aim matches your shot, which is key for precision.
Zero at this distance helps you understand how your bullet will behave at closer ranges. It accounts for the bullet’s trajectory, making future adjustments simpler.
Here’s why it matters:
- Consistent Accuracy: It gives you a reliable baseline so your shots hit where you aim.
- Simplifies Adjustments: Future scope tweaks become easier once you know how your bullet travels.
- Builds Confidence: Knowing your scope is correctly aligned at 25 yards boosts your overall shooting consistency.
How to Zero Your Scope at 25 Yards Step-by-Step
First off, find a safe, flat spot to shoot where you have a good clear backstop. You want to make sure everything’s safe and stable before you start.
Next, take a quick look at your scope to double-check that it’s mounted properly and tightened down nice and secure. You don’t want any wiggle room when you’re trying to zero in!
Once everything’s set up and secure, you’re all set to make some precise adjustments. Just head out to 25 yards, and you’ll be ready to zero your scope with confidence.
Prepare Your Shooting Area
Setting up your shooting area carefully is key for accurate zeroing. A well-prepared space ensures safety and helps you get consistent results.
First, pick a flat, stable surface that’s free from distractions. Then, choose a suitable target—ideally a paper target with clear markings—that makes it easy to see your shots.
Next, make sure there’s enough space behind the target for safe backstopping. This helps prevent ricochets or stray rounds from causing any problems. Proper target selection also makes it easier to judge your shot placement.
Clearing out obstructions and maintaining a steady shooting position are important for precision. By paying attention to these details, you’ll create a great environment for zeroing your scope at 25 yards, making the process smoother and more reliable.
Adjust Your Scope Properly
Once your shooting area is ready, it’s time to adjust your scope. Start with alignment techniques to make sure your reticle is centered and parallel to the barrel.
Use a stable rest to keep everything steady and ensure your scope is securely mounted. Begin by adjusting the windage and elevation knobs to zero your reticle at 25 yards.
Focus on calibrating the reticle, making sure the crosshairs are accurate and not distorted. Fire a few test shots and see where they land.
Make precise tweaks to your scope based on your shot groupings, moving the reticle accordingly. Keep repeating this process until your shots consistently hit the center of the target.
This way, you’ll know your scope is properly calibrated and aligned for accurate shooting.
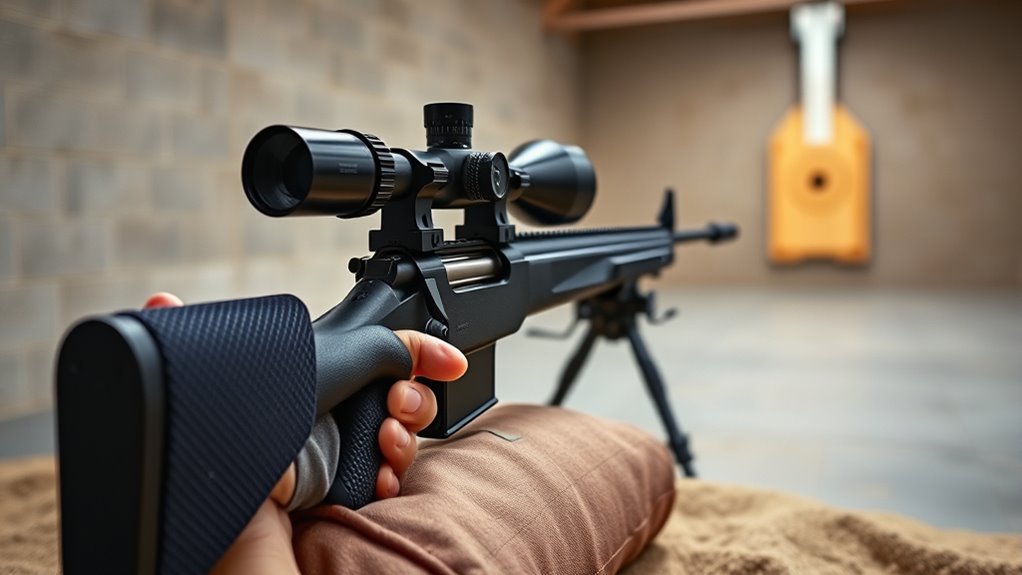
Using a Rest to Achieve Precise Scope Adjustment
Using a rest is essential for achieving precise scope adjustments because it provides a stable platform that minimizes movement and helps you make accurate, repeatable corrections.
Different rest types, such as bipods, sandbags, or adjustable shooting bags, offer various stability benefits. When using a rest, focus on applying key stability techniques:
- Choose the right rest type for your shooting style and environment.
- Ensure the rest is steady by adjusting its position and tightening any adjustable parts.
- Maintain a consistent shooting posture to keep your shot aligned and reduce movement.
These stability techniques help you make fine adjustments with confidence. Whether you’re using a simple sandbag or a high-tech bipod, always aim for the most stability possible.
This control will give you clearer sight pictures and more accurate scope adjustments, bringing you closer to hitting your target at 25 yards.
How to Confirm and Maintain Your Zero With Test Shots
To keep your zero accurate, it’s a good idea to verify it regularly with test shots. Just take a few shots at your target and see if they hit where you expect. If they’re off, make small adjustments to fine-tune your aim.
It’s all about consistency—by doing this often, you’ll stay confident that your shots are on point. Keep checking and tweaking as needed, and you’ll maintain that perfect zero over time.
Verify Zero Consistently
Regularly verifying your zero ensures your shots stay on target, especially after handling your firearm or long periods without shooting. To keep your sighting consistent, try verify zero techniques like shooting a few test shots at 25 yards and checking if they hit your desired point of impact.
Here’s how you can maintain your zero:
- Record Your Shots: Keep track of where your shots land for quick reference later.
- Use a Consistent Shooting Technique: Always shoot from the same position and stance to get reliable results.
- Check and Adjust: Regularly compare your shots to your target and make tweaks if needed.
Adjust for Precision
Confirming and maintaining your zero with test shots is essential for precision shooting. To do this effectively, focus on clear scope clarity so you can see your target and shot impacts accurately. Use precise adjustment techniques—turn your scope’s turrets slowly and make small, deliberate changes.
After each shot, check where your bullet hits relative to your target and make adjustments accordingly. If your shots consistently group high or low, fine-tune the scope’s elevation or windage. Keep track of your adjustments so you can repeat your zero later.
Regularly test-fire to make sure your zero stays accurate, especially after handling or transporting your rifle. Proper adjustment techniques ensure your scope remains aligned, giving you confidence and accuracy with every shot.
Fine-Tuning Your Scope for Consistent Accuracy at 25 Yards
Achieving consistent accuracy at 25 yards requires fine-tuning your scope precisely. Start by checking that your scope is perfectly level with your rifle to avoid parallax errors.
Next, focus on calibrating the reticle so it lines up accurately with your point of impact. To do this, first verify that your scope is securely mounted and doesn’t move.
Use a level or a known reference point to make sure the reticle is straight. Then, make small adjustments to the windage and elevation turrets to zero in on your target at 25 yards.
Troubleshooting Common Scope Zeroing Issues
One of the most common issues when zeroing your scope is inconsistent point of impact. This can happen due to scope misalignment, loose mounts, or environmental factors.
First, check if your scope is securely mounted. Loose mounts can cause shifts in your point of impact. Next, verify that your reticle is calibrated correctly and aligned with your bore.
Ensure your scope is firmly mounted and reticle properly aligned with the bore for accurate zeroing.
If the reticle is off, turret adjustments won’t give accurate results. When you make turret adjustments, do so in small steps, and always return to the same point of aim to track changes properly.
Remember, bullet drop at 25 yards is minimal but still affects accuracy. Keep that in mind when making adjustments.
If problems keep happening, re-zero your scope from scratch. Double-check each step to make sure everything is aligned. Proper scope setup and careful turret adjustments are key to consistent accuracy and reliable zeroing.
Frequently Asked Questions
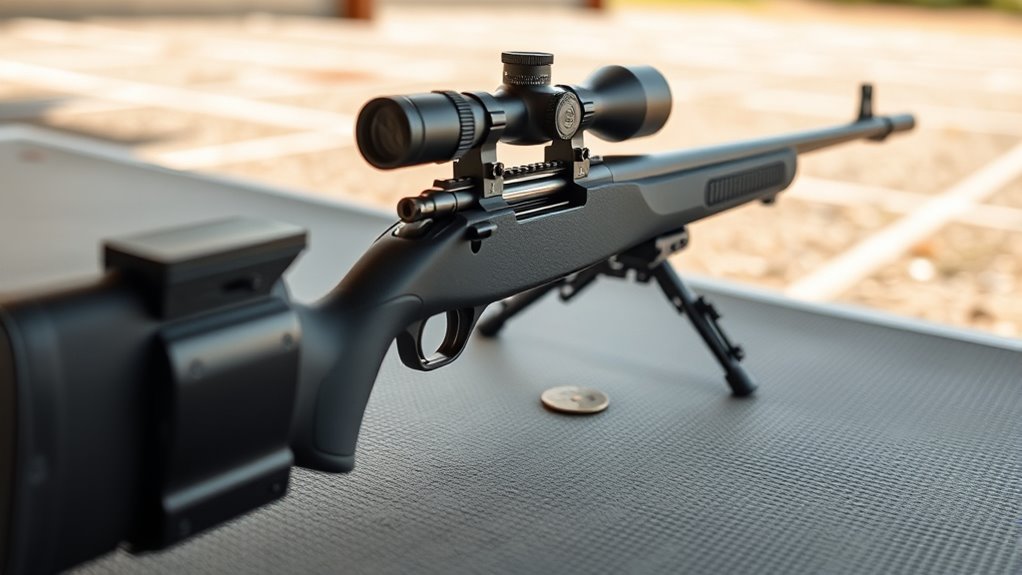
What Tools Are Essential for Scope Zeroing at 25 Yards?
To zero your scope at 25 yards, you’ll need some essential tools like a spotting scope or binoculars for precise sighting. These help you see your target clearly and make accurate adjustments.
You’ll also want an adjustment tool such as a coin, screwdriver, or scope wrench. These tools are used to make the necessary tweaks to your scope’s windage and elevation.
Using proper sighting techniques ensures your scope lines up correctly with your target. Having these tools ready allows you to fine-tune your scope quickly and effectively.
This way, you can hit your target accurately during your shooting session with minimal hassle.
How Long Does the Zeroing Process Typically Take?
The zeroing process usually takes about 30 minutes to an hour, depending on your experience and the rifle’s behavior.
You’ll start by shooting groups at 25 yards and then make precise scope adjustments to align your point of impact.
Patience is key—verify your adjustments by shooting multiple groups until your shots consistently hit your target.
This way, you’ll confirm your zero and ensure your rifle performs accurately.
Can I Zero My Scope Indoors or Is Outdoor Necessary?
Zeroing your scope indoors is like painting a picture in a cozy room—it’s comfortable and controlled. Indoor advantages include consistent lighting, no wind, and easier adjustments.
However, outdoor limitations like wind, weather, and varying lighting make it more realistic and reliable. For precise shooting, start indoors to align your scope, then move outdoors to account for environmental factors and truly fine-tune your aim.
How Often Should I Re-Zero My Scope After Initial Setup?
You should re-zero your scope periodically, especially after heavy use, weather changes, or if you notice accuracy issues.
Regular scope maintenance is key to ensuring precision. Consider re-zeroing every few months or after roughly 100 to 200 shots.
This helps keep your sight aligned, prevents drift, and maintains consistent performance.
Always check your zero before important shooting sessions to confirm your scope is still accurate and reliable.
What Are Signs That My Scope Is Not Properly Zeroed?
Did you know that nearly 40% of shooters notice signs of scope misalignment within their first few shots?
If your shots are consistently off-target or pattern unpredictably, your scope might not be properly zeroed.
Look for signs like shot grouping shifts or the need for frequent adjustments in windage and elevation.
If you see these signs, it’s a good idea to recheck your scope and make adjustments until your shots hit the mark consistently.
Conclusion
Now that you’ve mastered these seven steps, your shots will be so precise, they’ll practically hit themselves! Zeroing your scope at 25 yards isn’t just a skill. It’s your secret weapon for unbeatable accuracy, turning every shot into a bullseye masterpiece.
With your newfound knowledge, you’ll be the sharpshooter everyone envies. Your targets won’t stand a chance. Get out there, aim true, and watch your shooting game reach legendary status. Your scope will thank you!